Introduction
Forge is a well known Minecraft modding platform. It uses Forge mods that are a direct modification to Minecraft's code that can completely change game-feel. All Forge mods on the server have to be installed on the player's game as well. There are a lot of pre-made Modpacks that make this easier. The most popular source for downloading Forge mods is https://www.curseforge.com/minecraft/mc-mods.
If you are playing modpack from CurseForge, Feed the Beast, TechnicPack or VoidsWrath, click here to jump to Installing Modpack.
If you are planning to mix and match your mods, continue with Installing Forge below. 
Installing Forge
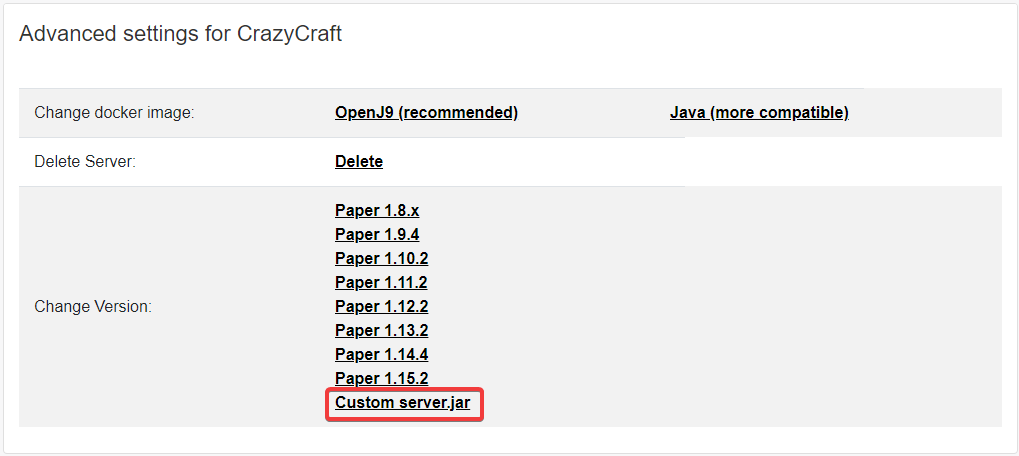
First, we want to go to the FreeMC.Host Website and open Advanced Settings of our server. In here, we want to select "Custom server.jar" from Changing version section.
Now select Forge version from download links below. All versions are latest.
1.6.4, 1.7.10, 1.8.9, 1.9.4, 1.10.2, 1.11.2, 1.12.2, 1.13.2, 1.14.4, 1.15.2, 1.16.1
Now let's upload downloaded forge-1.x.x.zip to our server. I'll be using File Management, but you can also use SFTP if that's easier for you.
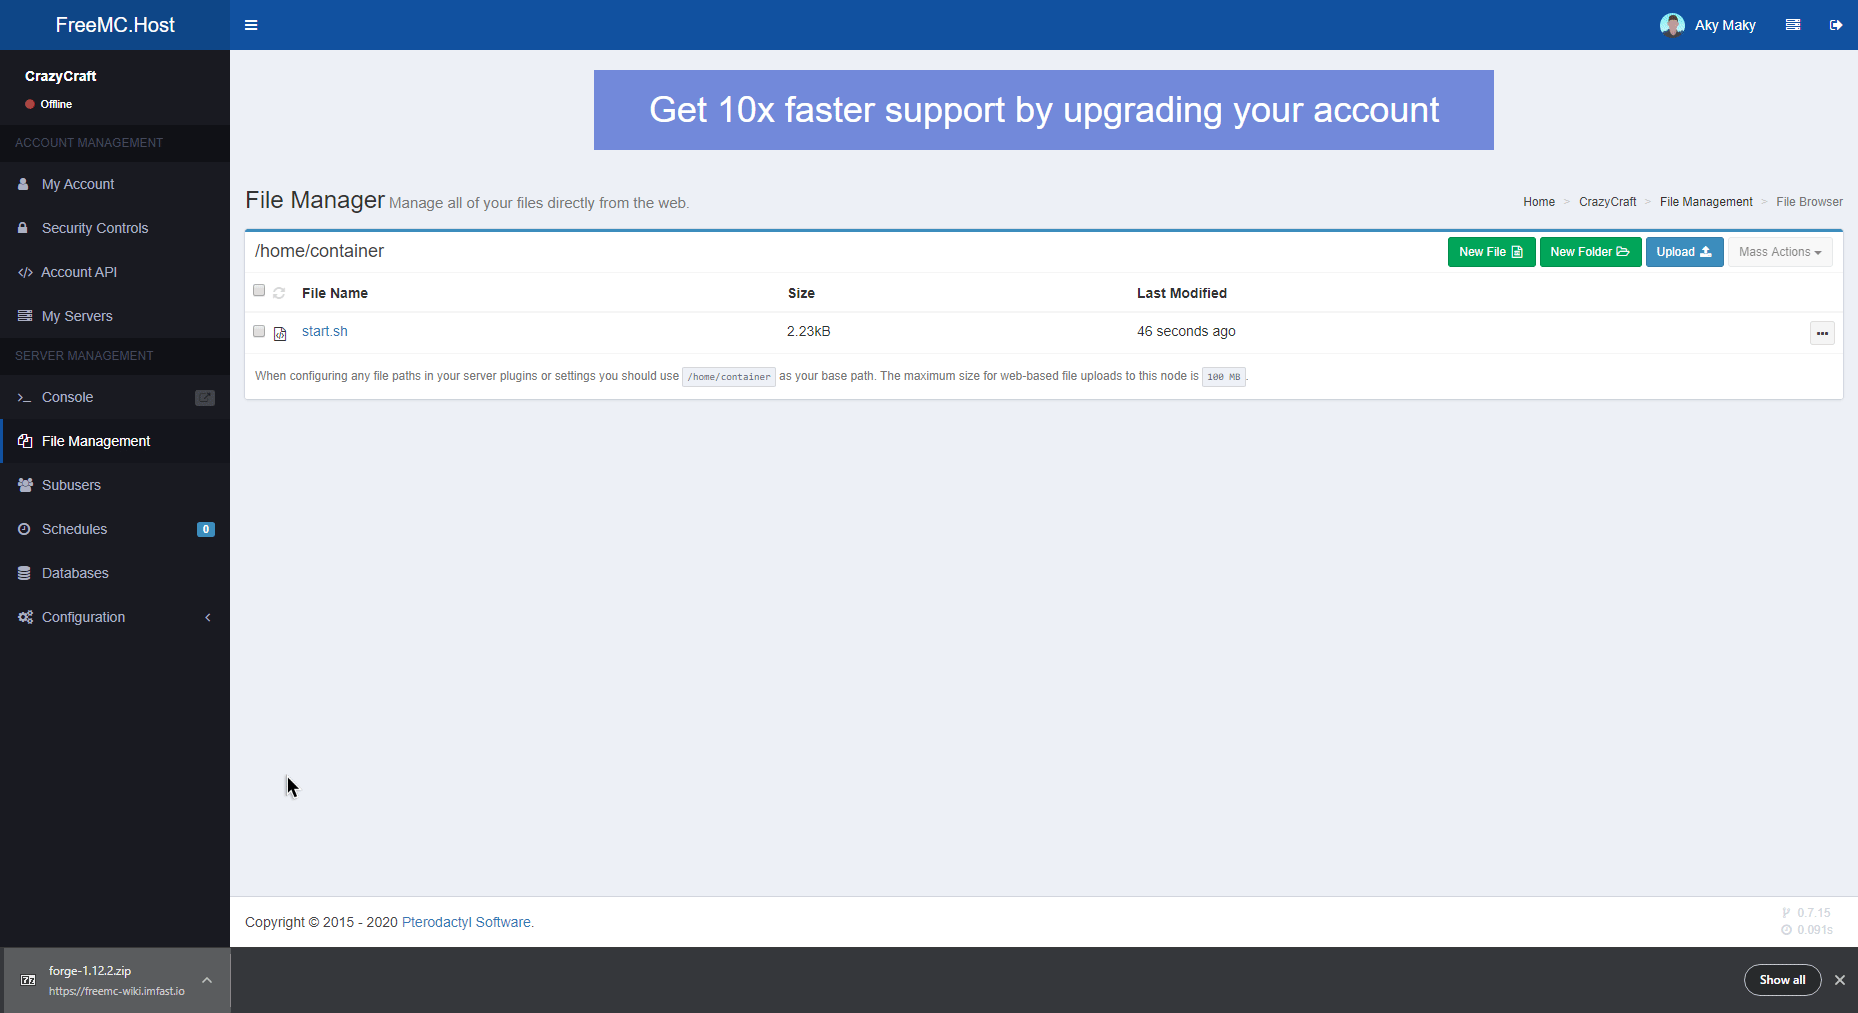
Now, wait for the upload to finish - for the blue line to turn green. If you stay on the page, uploading will be faster.
If you already have some server files make sure to delete them. They can cause issues!
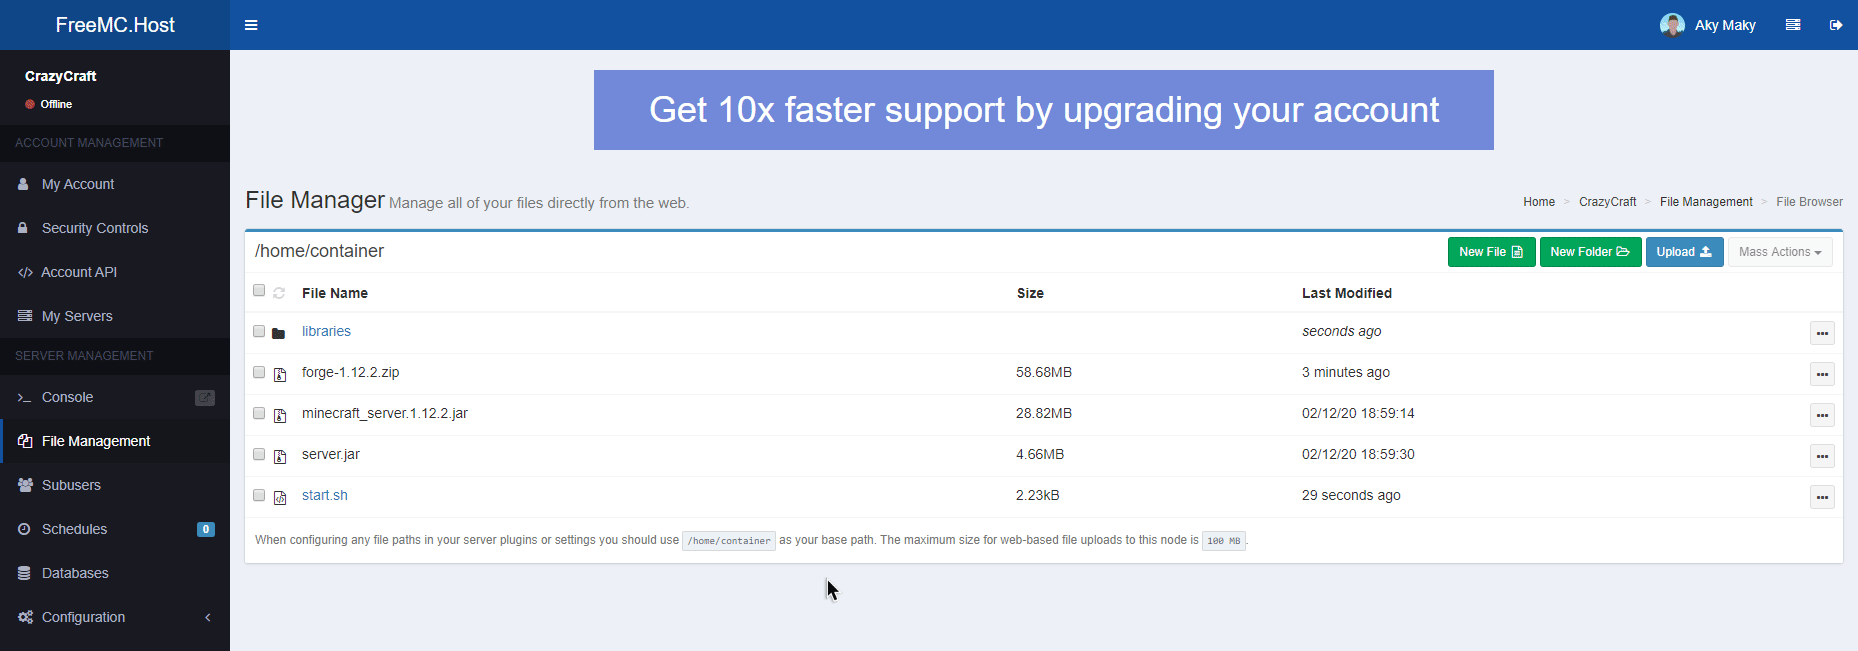
When it's uploaded, refresh files and Decompress archive.

If Decompressing fails and after you refresh the page there are no new files like in GIF above, Decompress archive in an empty folder on your computer. Then user SFTP Client to upload Decompressed files and folders to your server.
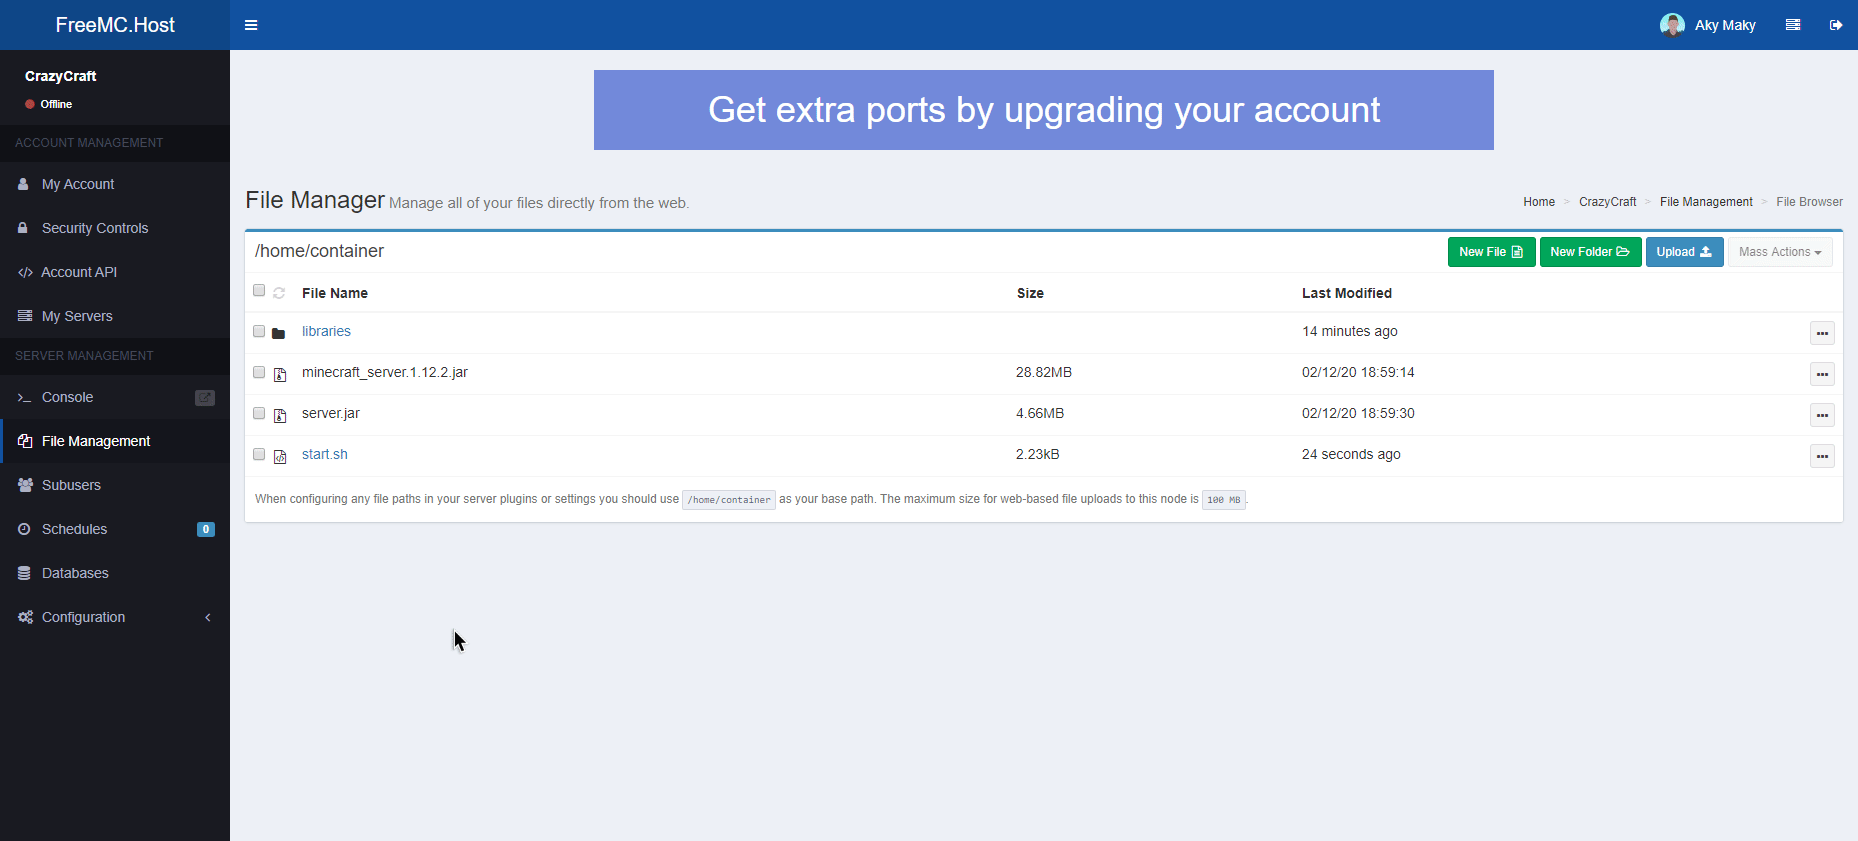
Now you can also delete uploaded forge-1.x.x.zip archive.
And finally, we can start our Forge server!
Once started, the server will create mods folder that you can upload your sweet mods into! 
If your server fails to start, go into the server's Advanced Settings on FreeMC.Host Dashboard and under "Change Docker image" section select "Java (more compatible)".