Installation
First, let's download  PowerNukkit or
  Cloudburst Nukkit by clicking on one of their names.
Which one should I choose?
We've have already explained in the introduction that PowerNukkit is essentially an improved version of Cloudburst Nukkit, with improved support for new blocks, block variants, block water-logging, redstone, and so on... That's why I recommend using PowerNukkit. Both support plugins from Cloudburst website.
Now go to FreeMC.Host Dashboard, open Settings and Backups of your server. Click "Change" under Version section and select "Custom" option at the end of page.
Go to the Panel and into your servers Console, make sure it's stopped. Open File Management.
If you already have any old server files, make sure to delete them. They can cause issues!
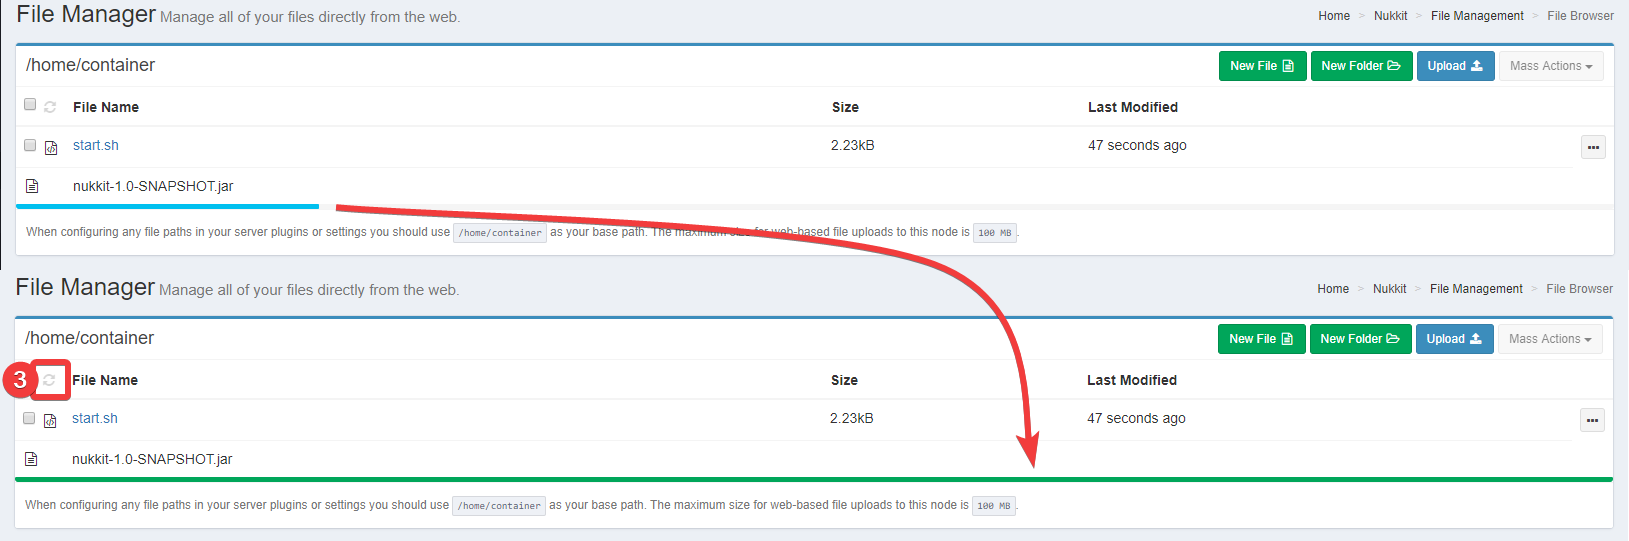
Upload downloaded file.

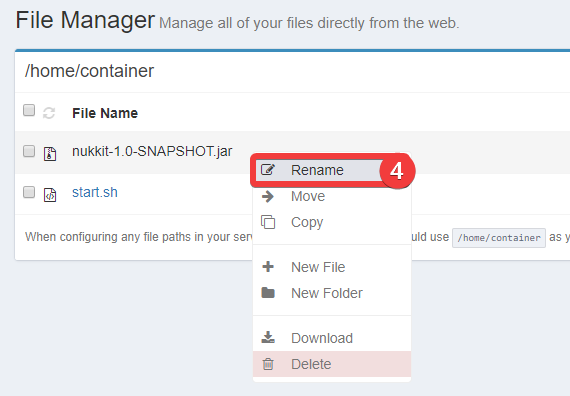
When the upload is finished (blue line turns green), reload files, rename file you uploaded to server.jar.
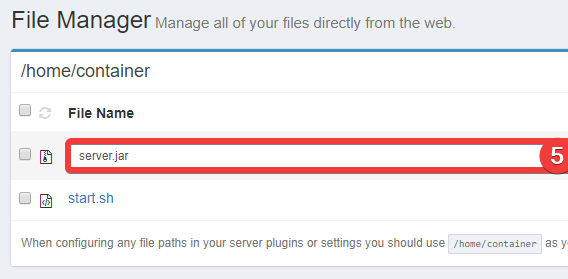
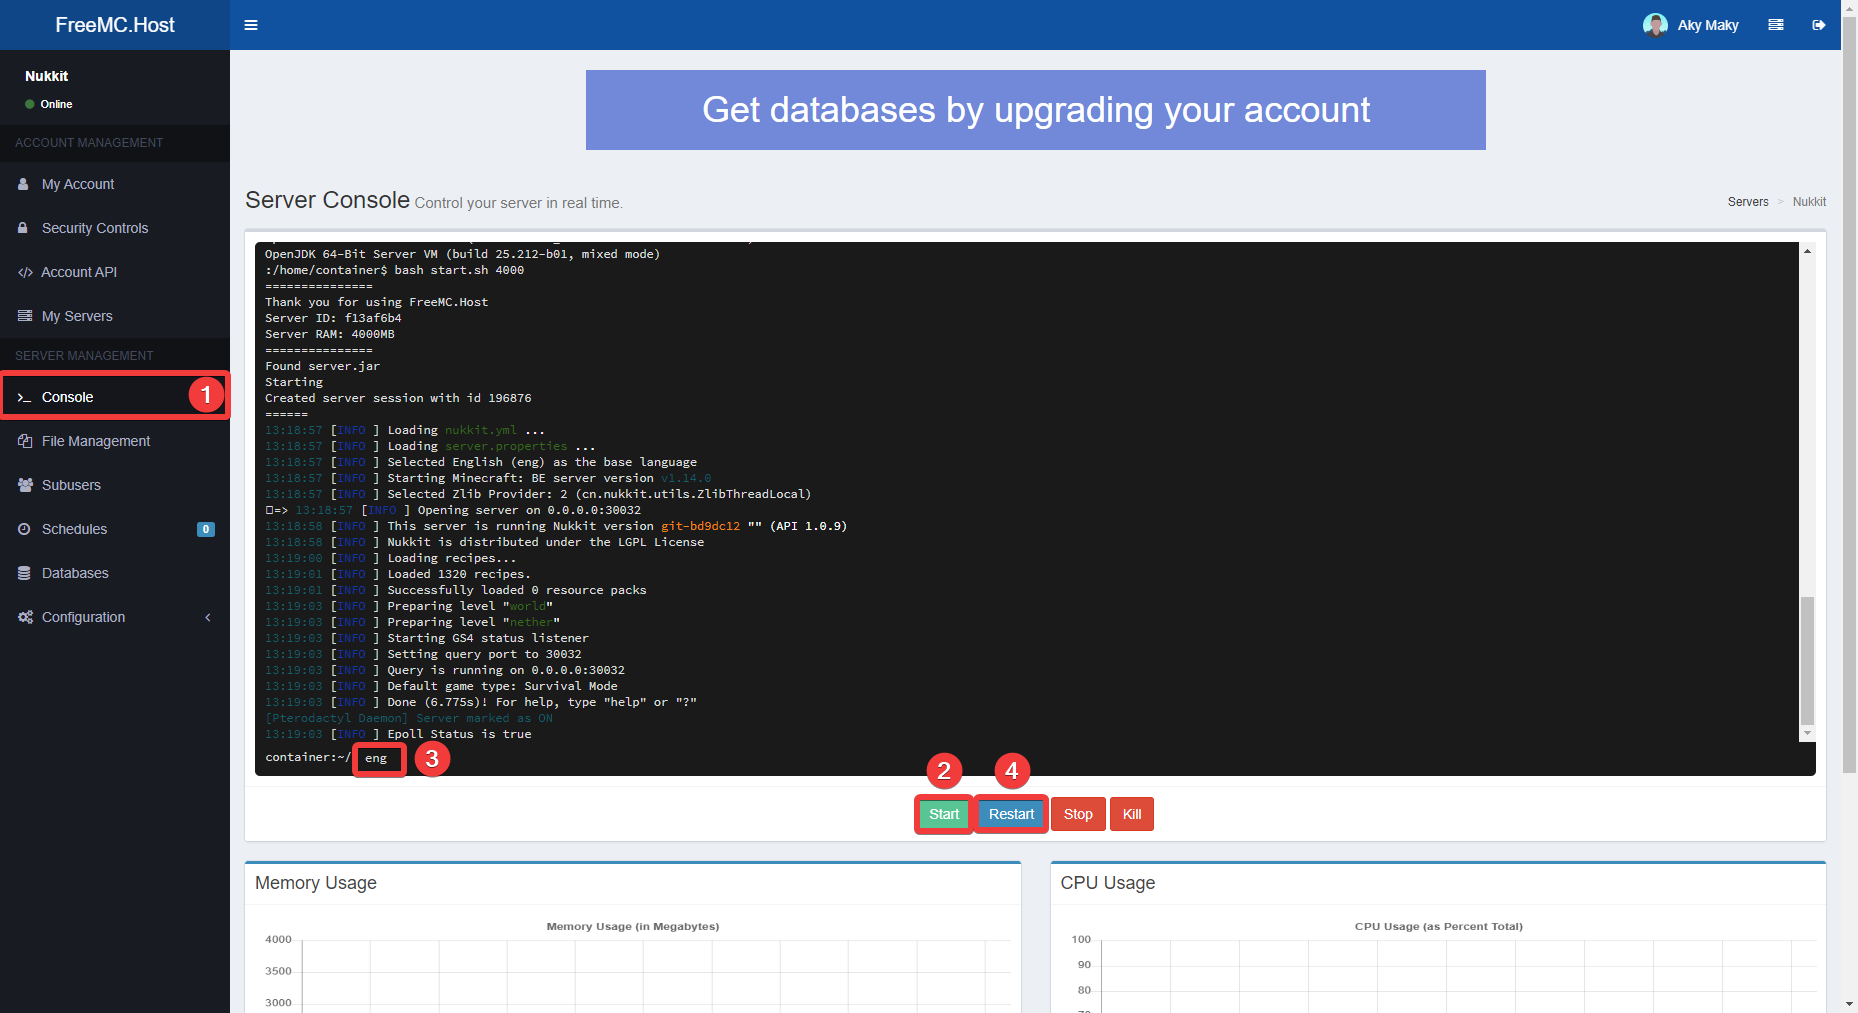
Go back to the Console and Start the server.
When the server starts up for the first time, you will be prompted to select language. I will select English by typing eng in the Console.
The server will now continue starting. Once you see "[Pterodactyl Daemon] Server marked as ON", Restart the server.
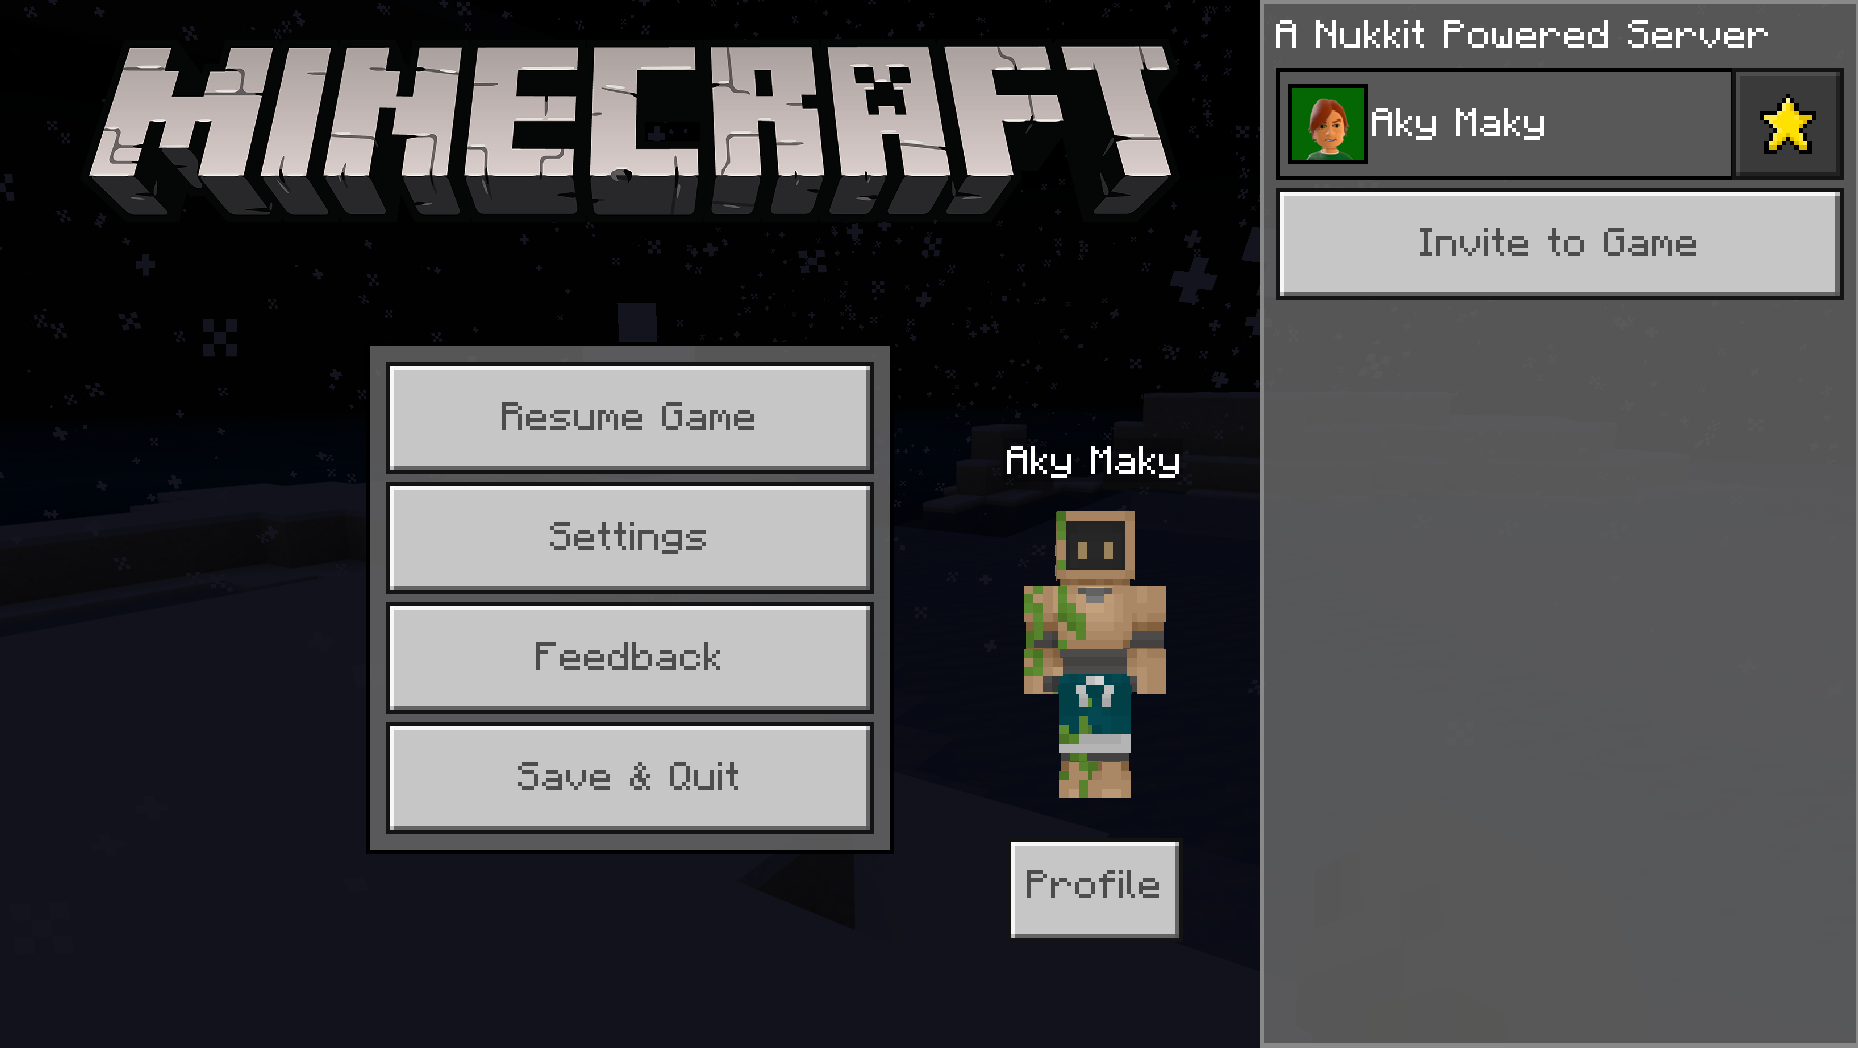
When the server starts up again, we can now join it!
Connecting
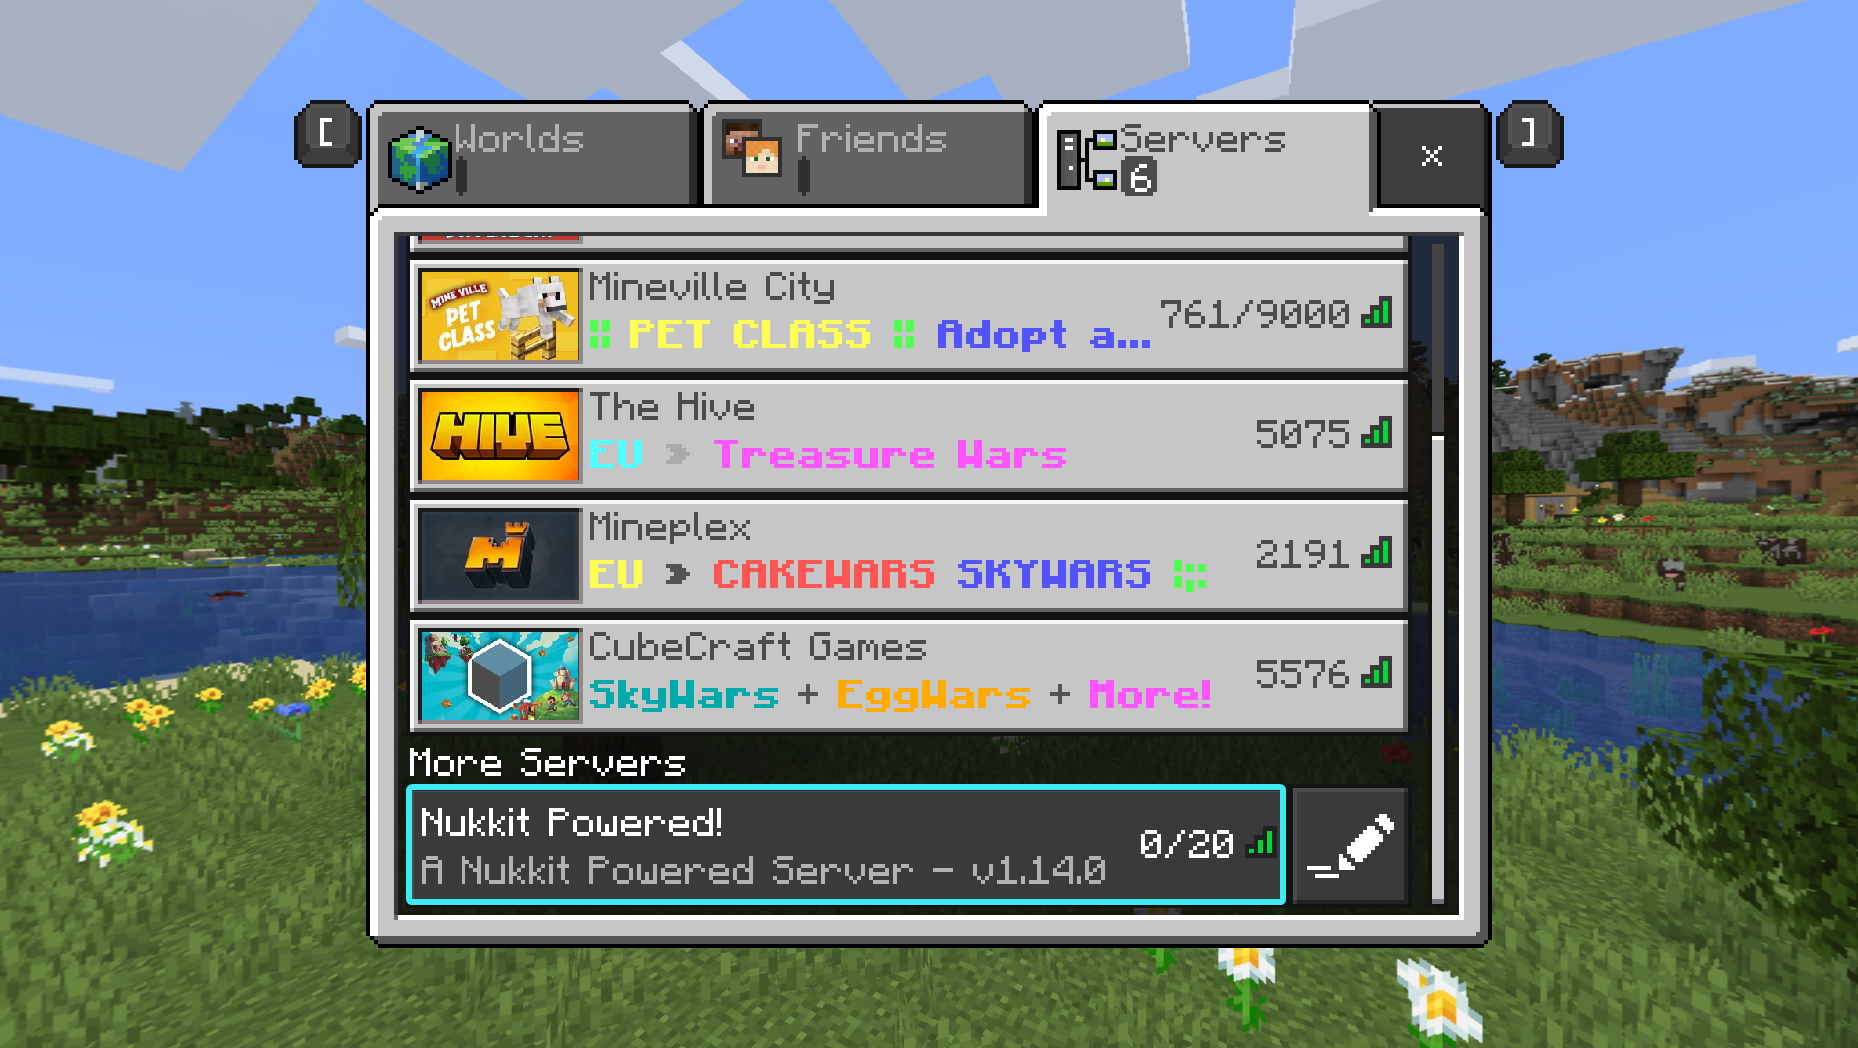
From your Minecraft Bedrock Edition go to the Servers > Add Server.
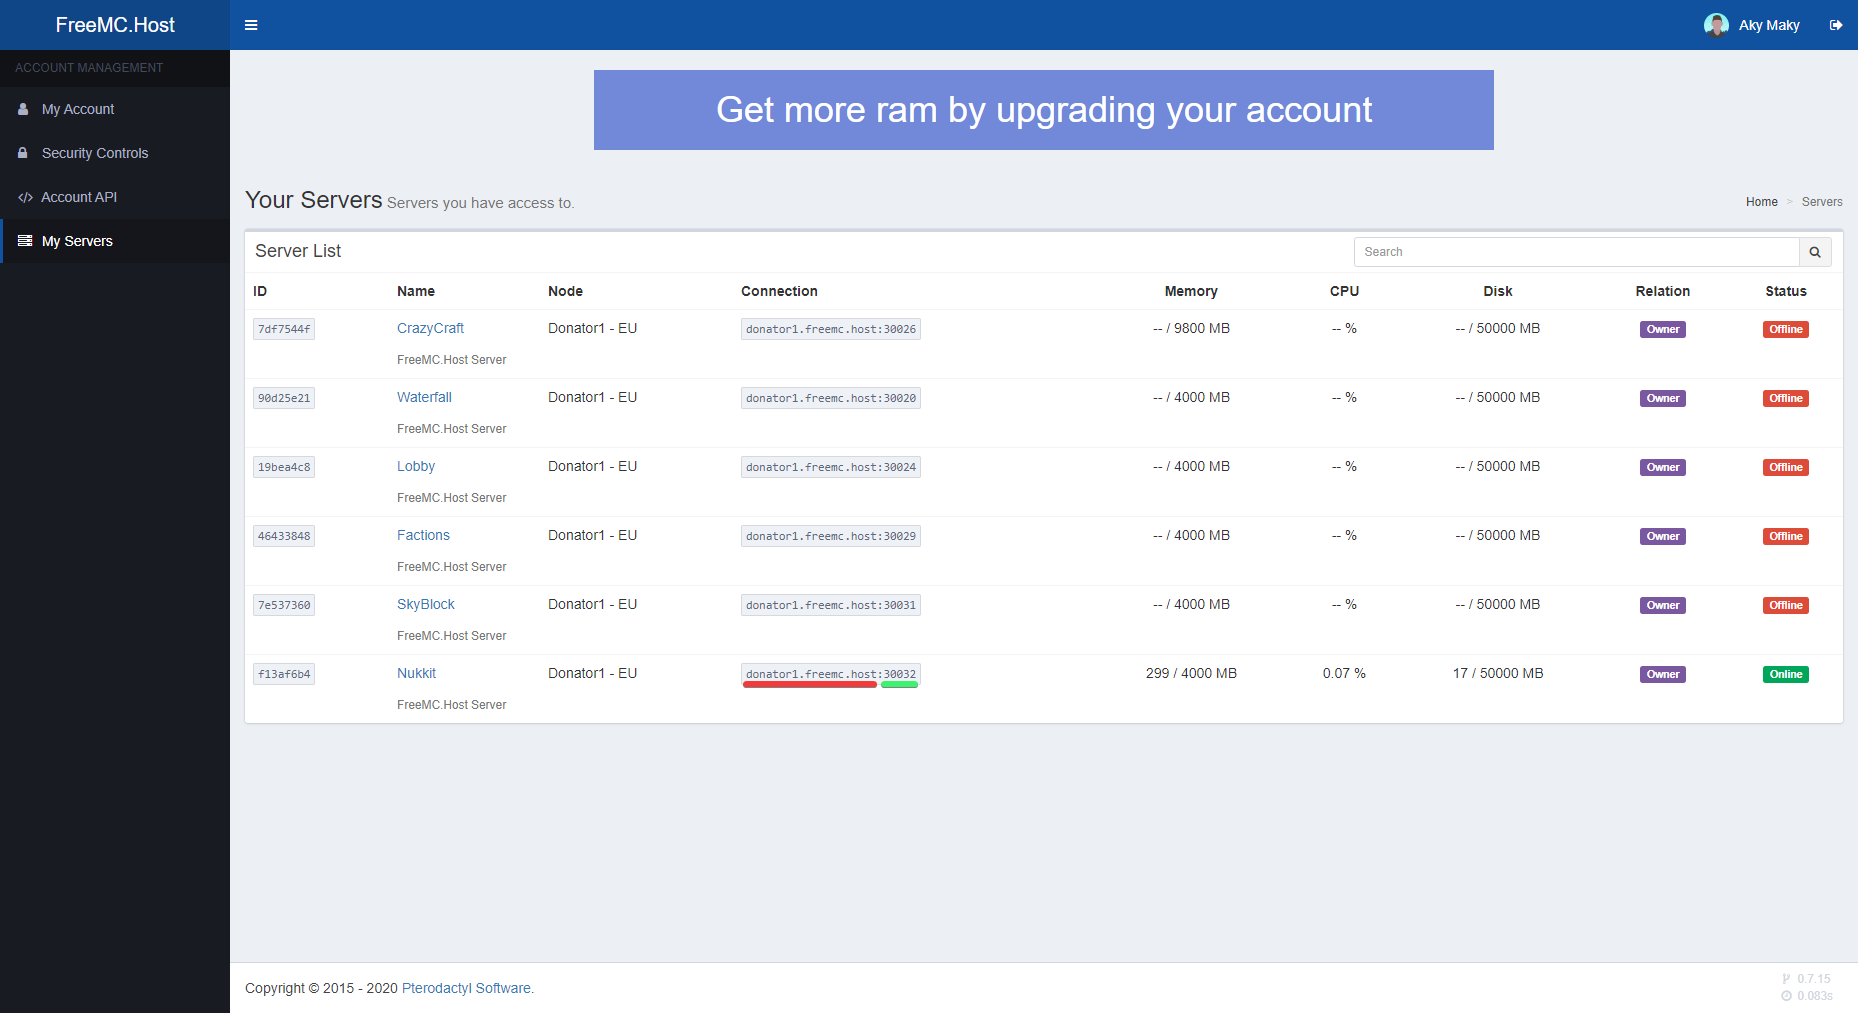
Input Server Address and Port as shown on Screenshot. You can name it however you like!
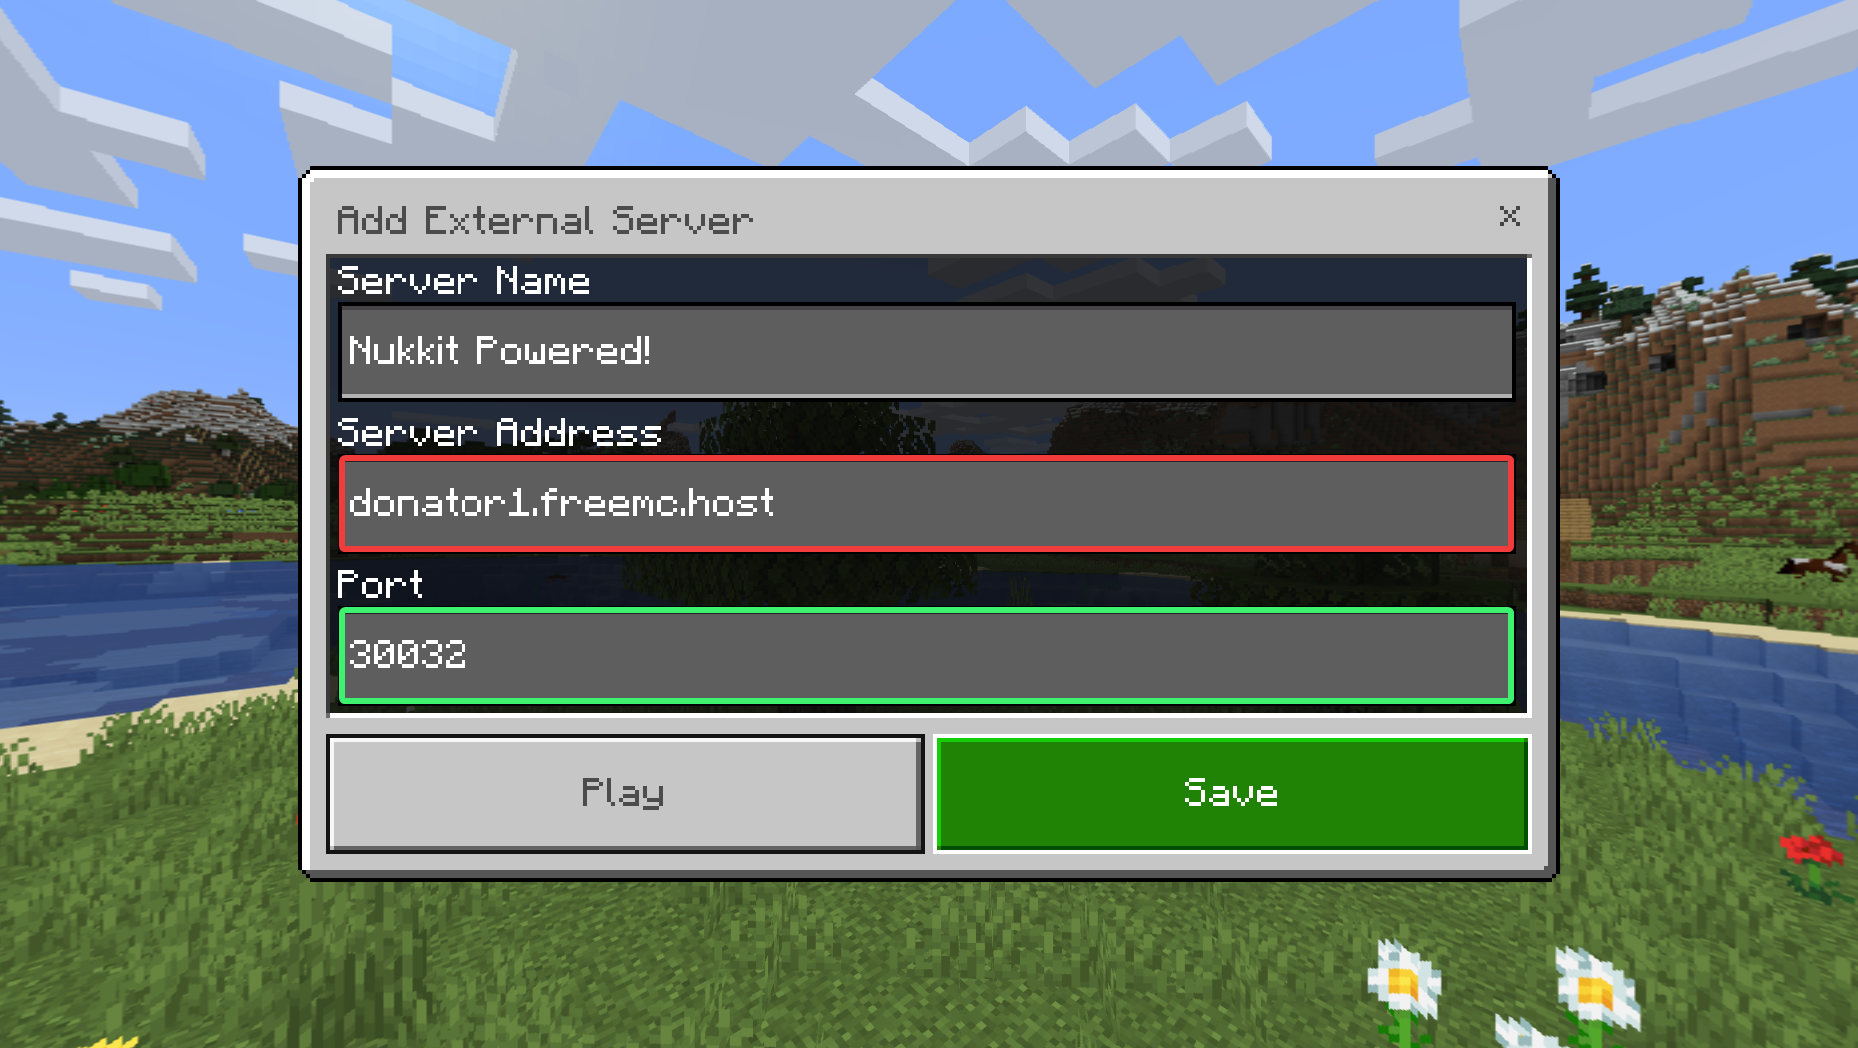
Save the Server and join!